


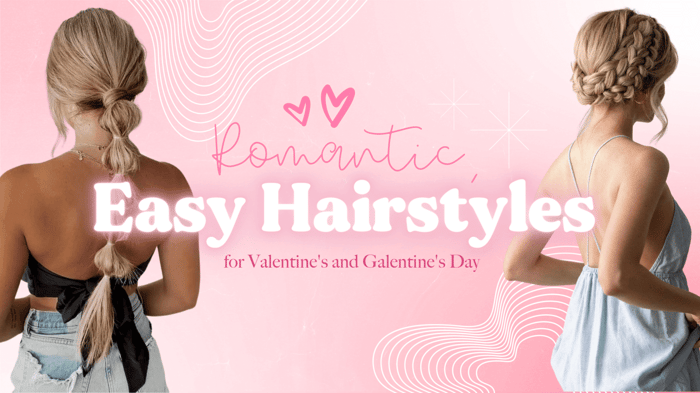
When you're feeling all warm and fuzzy, an adorable way to show it is with hairstyles that are quick, easy and give an air of sweetness. Check out these styles for the perfect look!
Not feeling in love with your look for the upcoming Galentine's brunch with the girls or Valentine's dinner with your sweetheart? Look no further! These hairstyles will give you just the right touch of loveliness that you can easily bring back all year long!

HEART HAIR
The cutest look for Valentine's Day 2023, this little half up-do creates an adorable heart and take just a few minutes!
STEP 1: Start by section off all hair above the temples so the upper half of your hair is separated from the bottom half. Make sure the hair below isn't tangled in the upper half and is smooth, then tie off with an elastic hair band. This is also a good time to tie off or clip the hair underneath as well, so you don't get tangled strands in the following steps.
STEP 2: With your thumb and index finger, make a hole just above the elastic in the center, and flip the ponytail under and through the hole, so it looks "upside down". Divide the tail into two equal sections, and let them naturally hang down on the left and right sides.
STEP 3: Tie the two sides together below with an elastic, and a heart shape will appear! The higher you tie it, the smaller the heart. The lower you tie it, the bigger the heart!
STEP 4: Finally, hold the lower elastic in one hand to stay secure, and then gently pull small strands of hair from the lower side of the heart to the upper, to make the hair fuller and the heart nice and big!
 CHIC BUN
A bun is the perfect up-do to keep a classy, elegant look and draw attention to your wonderful face. This bun is great for all hair textures and types!
STEP 1: Bring all of your hair into a high ponytail.
STEP 2: Split the ponytail in half, and twist each side in the same direction a few times.
STEP 3: Once they're both twisted, twist each side together in the opposite direction. So, if you twisted them both to the right, you'll twist them together to the left.
STEP 4: Once they're together, you can hold the end and tug on small sections of the twist to make it bigger and fluffier, but that's totally optional! Secure the ends with a clear elastic.
STEP 5: Finally, wrap the twist around the ponytail to make the bun, and secure it with bobby pins.

BUBBLE PONYTAIL
This is the simplest hairstyle, can be done on hair that hasn't been washed in a while, and is perfect for extra long hair!
STEP 1: Put all your hair up into a high ponytail.
STEP 2: Backcomb the ponytail just a little bit, then smooth the top to create some volume. A couple of inches from the first elastic, add another elastic to the ponytail. Pull the hair slightly to make a small bubble.
STEP 3: Repeat Step 2 all the way to the end!
STEP 4: An optional way to keep this style chic is to wrap a tiny strand of hair around each of the elastics as you go to hide them, and secure the hair with a bobby pin pointing down and into the ponytail underneath the tail.

CROWN BRAIDS
This style gives serious Juliet vibes, and works perfectly with bangs! We recommend curling your hair before this look to keep it soft and create more texture for the braids.
STEP 1: For this style, you'll start on one side (your hair can be parted to the side or middle, either way!) and this time, you'll leave a little section of hair in the front to frame your face. Take a section of hair just behind those front strands and above the ear, make sure that this section is long enough to reach all the way around to the back of your head.
STEP 2: Braid the whole section in a simple 3-strand braid. Tie off with an elastic. You can stretch out your braid to make it look a little fuller by pulling each strand of the braid out just a little bit. Take a bobby pin, and with the flat side on top, secure the braid to the back of the hair close to the elastic at the end of the braid. It won't take much to keep it in place!
STEP 3: Repeat Step 2 on the other side, except cross the end of the braid over the other one when securing it to the back of your head with the bobby pin. You can stretch out your braid
STEP 4: You can either leave the rest of the hair down as is, or make a small bun at the base of the neck for an extra gorgeous look!

BEACHY WAVES
This look has two styling options, and requires no extras like ties or bobby pins, and can even be done the night before with no heat if you choose!
If you have a Beach Waver hot tool...
STEP 1: If you have a beach waver hot tool, use this on clean and dry hair. Section the majority of your hair up into a clip, so there's one layer of your hair all the way around closest to your neck. Holding the waver horizontally to your hair, take a small section and hold the hair in the hot tool for several seconds. Work your way down your hair in sections, until the wave goes all the way down the hair.
STEP 2: Repeat all the way around. Need a pro tip? Make sure the tool is facing the same direction across all of the hair, to create a continuous wave.
STEP 3: Take another section down from the clip and repeat the process until all of your hair is done.
If you DO NOT want to use a hot tool...
STEP 1: After washing your hair, while it's still wet, braid each side into tight french braids (this look lays best with a side part). Tie off each side with elastics. Leave in until completely dry.
STEP 2: Take off the elastics, and flip your hair upside down, and gently finger-comb to loosen the braids. And you're done!
Now it's your turn - try one of these styles, snap a photo and tag us on social media with #lilacmarketheadbandsblog for a chance to be featured in our stories. Pics or it didn't happen!
Keep up to date on all of our posts and news by signing up for our email list here!
Show us how you're styling all your Lilac Market Headbands!
Tag @lilacmarketheadbands & #lilacmarketheadbandsblog on Instagram for a chance to be featured on our social channels. headband hairstyles - ways to style hair - easy hairstyles - fast hairstyles - easy hairstyle - quick hairstyle - style your hair with a headband - hair off of face headband - hairstyles for long hair - hairstyles for medium hair - Galentine's hair - Valentine's hair - romantic hairstyle - headbands that stay in place - headband hairdos - women's headbands that don't slip